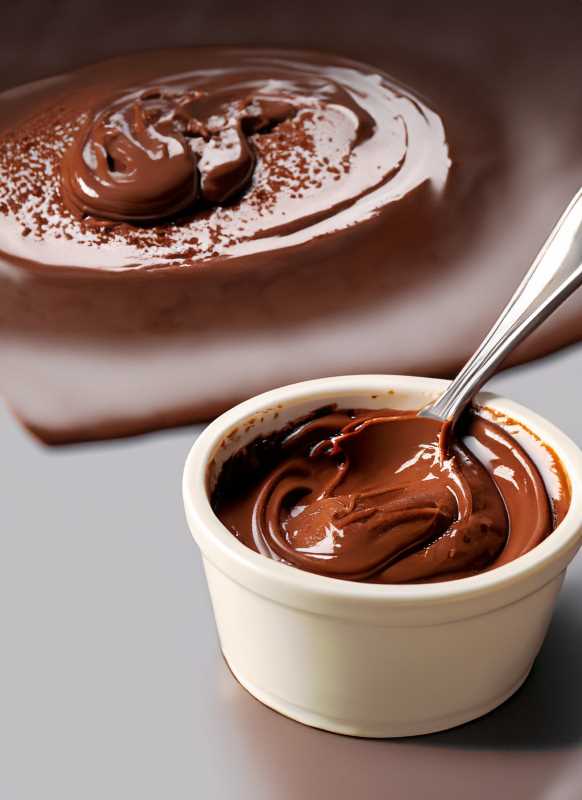
How to Make a Rich and Chocolatey Cocoa Spread
Indulge in the art of crafting a homemade cocoa spread like no other! Roasted cocoa nibs, sugar, cinnamon, and a touch of hot water create a velvety delight. Top it with toasted nibs for a crunchy twist, then chill for 20 minutes.

Cocoa spread is a delicious and versatile treat that can be enjoyed on toast, waffles, pancakes, or even by itself. It's also a great addition to smoothies and other desserts. While you can buy cocoa spread at the store, it's easy to make your own at home with just a few simple ingredients.
This recipe for cocoa spread uses roasted cocoa nibs, which give it a rich and chocolatey flavor. Cocoa nibs are the crushed seeds of the cacao bean, and they're packed with antioxidants and other nutrients. You can roast your cocoa nibs at home, or you can buy them pre-roasted.
Ingredients:
You'll need the following ingredients:
- 200 grams of roasted cocoa nibs
- 200 grams of sugar
- 200 grams of hot water
- 4 grams of cinnamon
- 50 grams of toasted nibs (to serve with your cocoa spread)
Now that your ingredients are ready, let's dive into the preparation process, step by step.
Instructions:
Step 1: Grinding the Cocoa Nibs
Your first task is to transform those roasted cocoa nibs into a delectable paste. A food processor or blender will be your trusty ally here. Place the nibs into the machine, press the power button, and watch as those nibs gradually transform into a silky-smooth, aromatic cocoa paste.
Step 2: Marrying Cocoa, Sugar, and Cinnamon
In a culinary marriage that was destined to be, combine the cocoa paste with your sugar and cinnamon. This union will elevate the flavor profile, creating a delightful harmony of sweetness and spice. Return this mixture to the grinder, pulsing until a cohesive and malleable paste forms. Feel the anticipation building as your kitchen fills with the intoxicating scent of chocolate and cinnamon.
Step 3: The Emulsification Dance
Now, let's add a touch of hot water to our cocoa paste party. Slowly pour the hot water into the paste while continuously mixing. The once crumbly mixture will now become an unctuous, firm texture that will make your heart skip a beat. This step is where your cocoa spread truly comes to life, gaining the perfect consistency that makes it spreadable, yet lusciously thick.
Step 4: Add the Crunch
The final touch to your masterpiece comes in the form of toasted cocoa nibs. Sprinkle them generously over the top of your cocoa spread, providing a delightful contrast to the creamy texture. The nibs add a satisfying crunch that elevates your spread to gourmet levels.
Step 5: Chilling Time
Patience is a virtue, and in this case, a delicious one. Place your freshly created cocoa spread into a jar and then into the refrigerator for a short 20-minute sojourn. This step allows the flavors to meld, making your spread even more decadent.
Indulge and Share
Once your cocoa spread has had its time to chill, it's time to indulge. Slather it on warm toast, drizzle it over ice cream, or dip your favorite fruit into it. Better yet, share the love and gift a jar to a friend; they'll forever be indebted to your culinary prowess.

Tips:
- If you want a sweeter spread, add more sugar. If you want a less sweet spread, add less sugar.
- You can add other spices to the spread, such as nutmeg, cardamom, or ginger.
- If you want a smoother spread, you can strain the paste through a fine-mesh sieve before emulsifying it.
- If you want a more spreadable spread, you can add a small amount of butter or coconut oil.
- You can also add other ingredients to the spread, such as nuts, seeds, or dried fruit.
In a world where convenience often overshadows the joys of crafting delicacies from scratch, making your own cocoa spread is not only a rewarding endeavor, but also an opportunity to savor something truly special. The rich, smooth cocoa, the touch of cinnamon, the sweet sugar, and the satisfying crunch of toasted nibs come together in flavors and textures.


